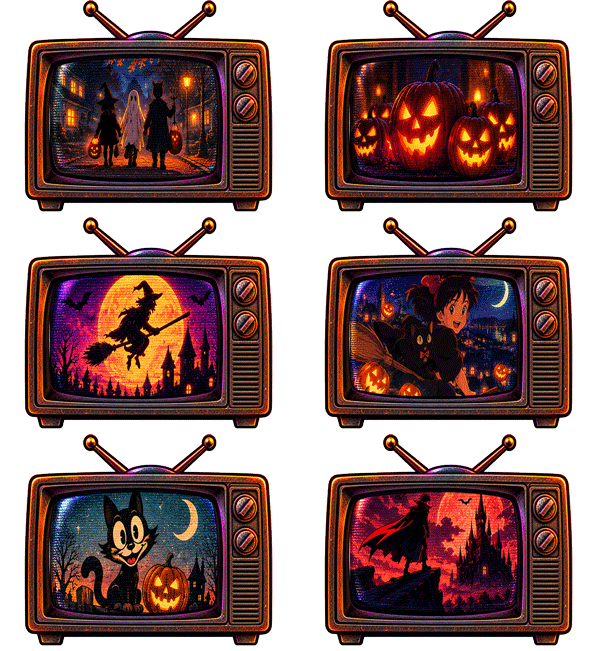
Halloween decoration aisles can be expensive, and not every home needs a twelve-foot skeleton. If what you miss is the goofy orange-and-black Halloween of school parties, paper window decorations and old department-store displays, you can make a convincing version yourself. In fact, homemade imperfections are part of the style.
Here are seven projects designed for a small budget, a recognizable silhouette and the kind of cozy look that works on a porch, in an apartment or around an old television.
Start with a tiny palette
Choose pumpkin orange, cream, black and a little faded purple. Use warm amber light rather than harsh blue-white bulbs. Vintage Halloween decorations often rely on strong, simple faces: a friendly pumpkin, startled ghost, smiling moon or big-eyed cat. You don't have to distress everything or make it look dirty to capture the era.

1. The window-sized smiling pumpkin
You need: orange cardstock or craft paper, black paper, scissors, removable window-safe tape.
Cut a pumpkin about the width of a dinner plate. Add oversized triangular eyes, a rounded nose and a grin with a few deliberately uneven teeth. Tape it to a front window. For a night version, place a warm LED lamp safely back from the glass so the face becomes a silhouette. Make three pumpkins with different expressions for a small storefront effect.
2. A flock of paper bats
You need: one or two sheets of black cardstock, pencil, scissors, removable mounting material.
Fold the paper in half, cut a bat shape, then open it into a symmetrical silhouette. Make several sizes and arrange them to look as if they're flying away from a corner. Use decorations that are suitable for your specific wall surface and test a hidden spot before putting anything on painted walls. Paper bats look especially good climbing up toward an orange lamp.

3. Cheesecloth ghosts with personality
You need: small foam balls or loosely crumpled paper for heads, cheesecloth or white fabric scraps, string, and a safe mounting point.
Drape the fabric over a round head, tie just below it and trim the edges. Add two paper eyes. Hang them away from heaters, ceiling fans and any open flame. Make one ghost frowning and another surprised—the less perfect, the better. If the fabric is very thin, layering two pieces helps the ghost read from across the room.
4. The old-fashioned silhouette town
You need: black paper, a long sheet of cream or orange backing paper, scissors.
Cut a row of crooked rooftops, church steeples, fence posts, trees and a cat sitting on a roof. Put the pieces across a window or use them as a mantel backdrop. This is the cheapest way to turn a blank space into a tiny Halloween village. Resist adding too many details; silhouettes should be recognizable at a glance.
5. Apothecary jars without a chemistry project
You need: thoroughly cleaned empty jars, paper labels, a marker or printer, and harmless dry contents such as colored paper or plastic eyeball props.
Create labels like “MIDNIGHT DUST,” “MOONBEAM SUPPLY” or “GHOSTLY INVENTORY.” Use them for display only, not for actual medicines or food storage. Don't put unknown chemicals in jars to achieve an effect. Cluster three jars on a tray with a toy spider and a battery tea light.
6. A thrift-store Halloween corner
At a thrift shop, look for orange glass, old picture frames, ceramic cats, small baskets or a slightly dated table lamp. Pick one anchor piece, not ten unrelated novelty objects. A frame with your own vintage-style pumpkin illustration plus two small decorations often looks more considered than a shelf packed with merchandise.
7. A retro “ON AIR” Halloween sign
Use cardboard, cream paper and large hand-drawn lettering to create a prop that says “HALLOWEEN TELEVISION — ON AIR.” Place it beside your TV for movie night, near a party photo corner or over a stack of old tapes. This simple trick gives the decorating a theme instead of a random assortment.
The $25 challenge
Prices vary by shop, but you can set a strict personal spending ceiling: reuse scissors, paper scraps, string and jars you already own; buy only a pack of black paper, one orange paper pack, a removable mounting option and LED tea lights if needed. Before buying anything new, check the craft drawer, recycling bin and a local reuse group.
Three details that make it look vintage
- Faces first. Make pumpkin and ghost expressions visible from the street.
- Warmth over realism. Friendly shapes and amber lighting feel older than hyper-detailed gore.
- One focal point per surface. A clean window silhouette reads better than a crowd of tiny items.
And a safety note: keep flammable paper and fabric away from open flames, hot bulbs and heaters. Use battery-operated candles and leave exits and walkways clear, as recommended by the National Fire Protection Association.
The best vintage Halloween decorations aren't those that cost the most. They're the ones that make someone say, “We had something just like that when I was little.”
Keep exploring
Independent editorial recommendations. Film availability, event schedules and game compatibility can change.